
Bacon & Apple Breakfast Hash with Fried Egg
Description
September mornings have a different feel. Cooler, quieter: the kind that call for something warm on the stove and no particular reason to rush.
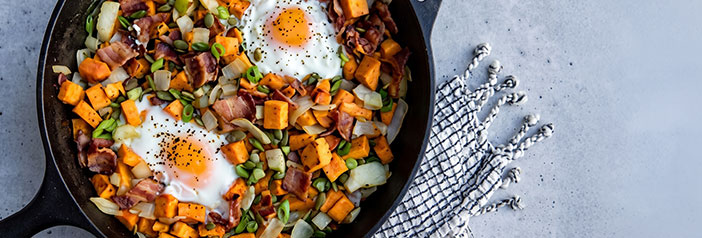
This hash starts with sweet potatoes roasted until just tender, then finishes in a skillet with Organic Applewood Smoked Bacon, apple, and onion until everything is golden at the edges and fragrant. A fried egg on top — whites set, yolk still runny — is the finish. Break it over the hash and let it do its thing.
Ingredients
Ingredients
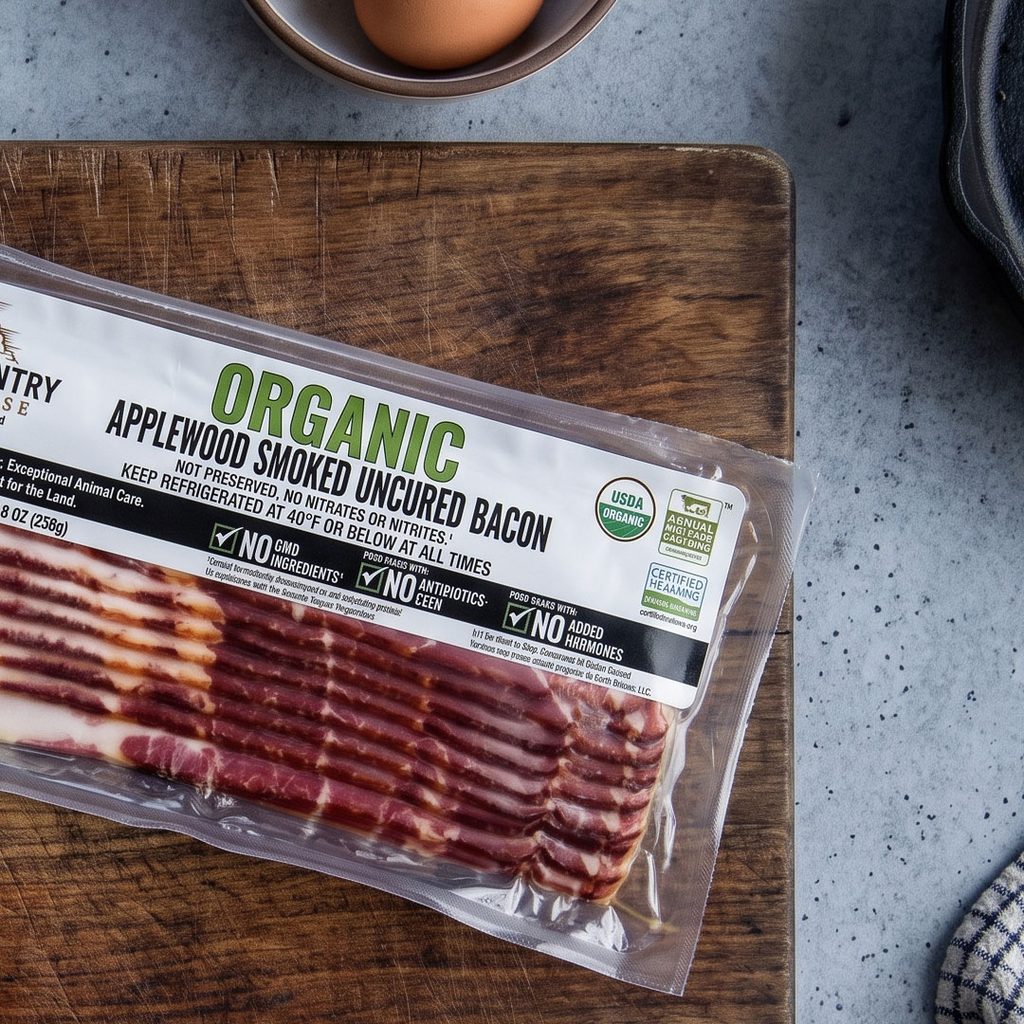
- Organic Applewood Smoked Bacon, diced (8 oz)
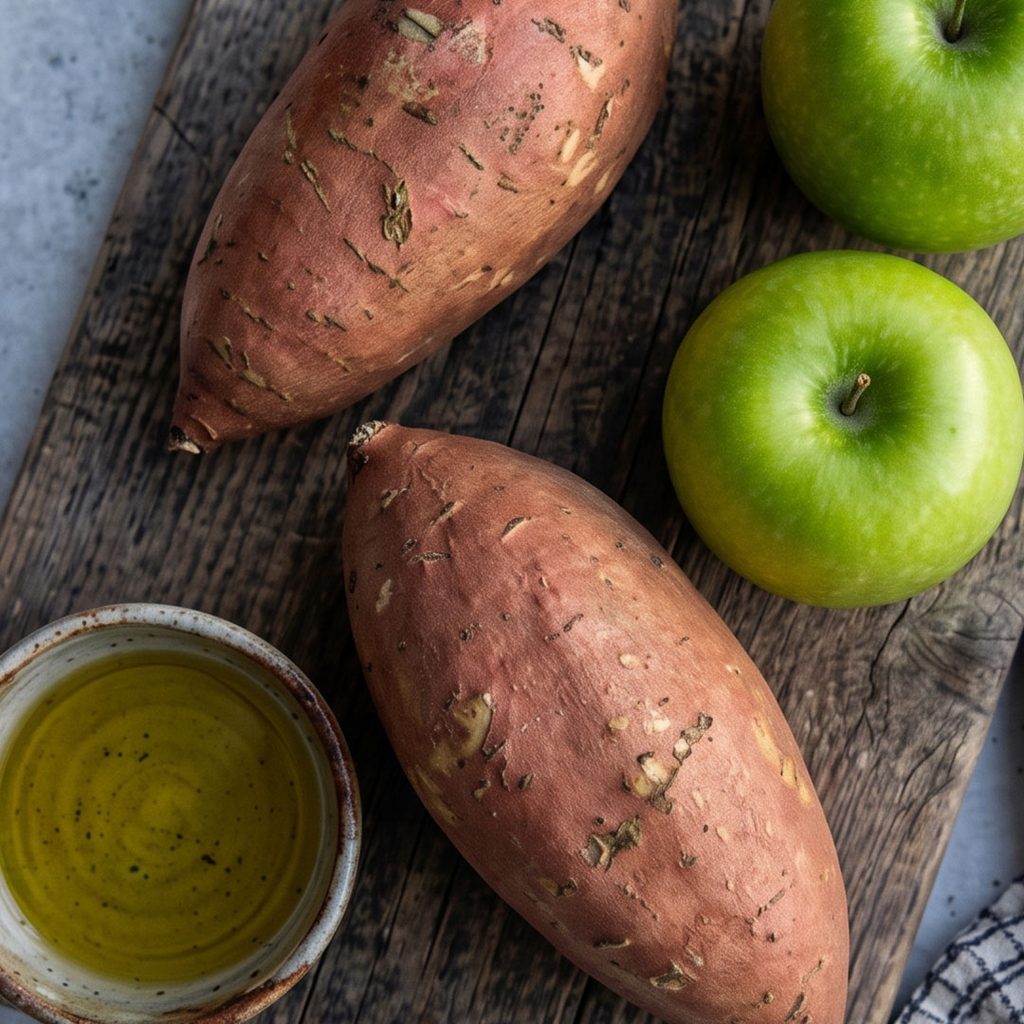
- 1 lb sweet potatoes, peeled and cut into ½-inch cubes
- 2 Granny Smith Apples, cored and diced
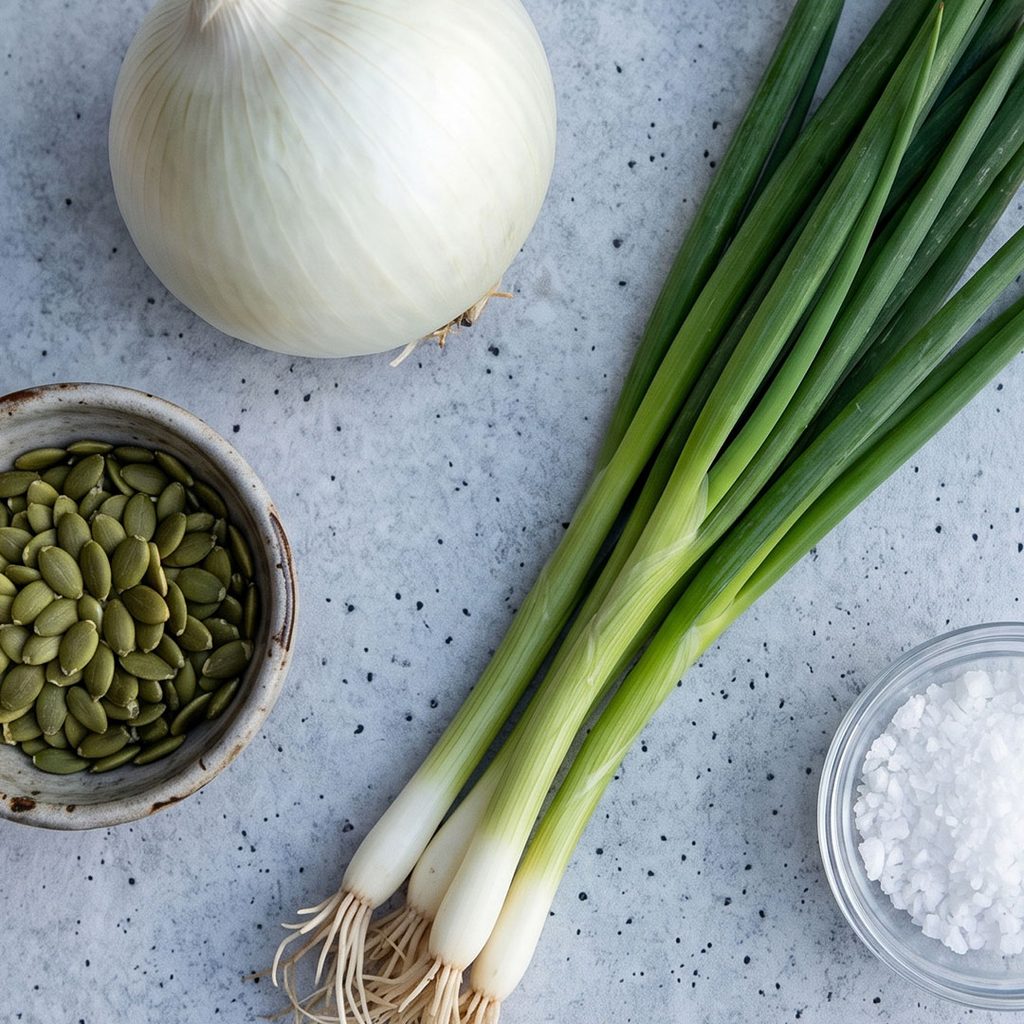
- 1 small white onion, diced
- 3 scallions, whites and greens separated
- ¼ cup pumpkin seeds, for garnish
- Extra-virgin olive oil
- Kosher salt and black pepper
- 4 large eggs
- 1 tbsp butter
Cooking Instructions
Roast the sweet potatoes. Preheat oven to 400°F. Toss sweet potato cubes with olive oil and salt, spread on a baking sheet, and roast until soft but not mushy, about 10 to 15 minutes. Remove and set aside.
Cook the bacon. Coat a large sauté pan with olive oil. Add bacon and place over medium heat. Cook until crispy and brown.
Build the hash. Add onion and scallion whites to the pan with the bacon. Season with salt and sauté until onions are soft and aromatic. Add apple and cook for 3 to 4 minutes. Stir in the roasted sweet potatoes and sauté until cooked through and starting to crisp at the edges, about 7 to 8 minutes.
Fry the eggs. In a separate pan, melt butter over medium heat. Crack in eggs and fry until whites are fully set and yolks are still runny.
Serve. Divide hash among plates. Top each with a fried egg. Garnish with scallion greens and pumpkin seeds.
Notes:
– Don’t let the sweet potatoes go too long in the oven — soft but not mushy is the goal; they’ll finish cooking in the skillet. .
– The egg yolk is the hero of the finished plate — keep it intact until serving.
– Hash reheats well in a skillet; fry eggs fresh per serving.
Leave a Review
Be the first to review this recipe.